Restoring an Entire VM (Linux and Windows)
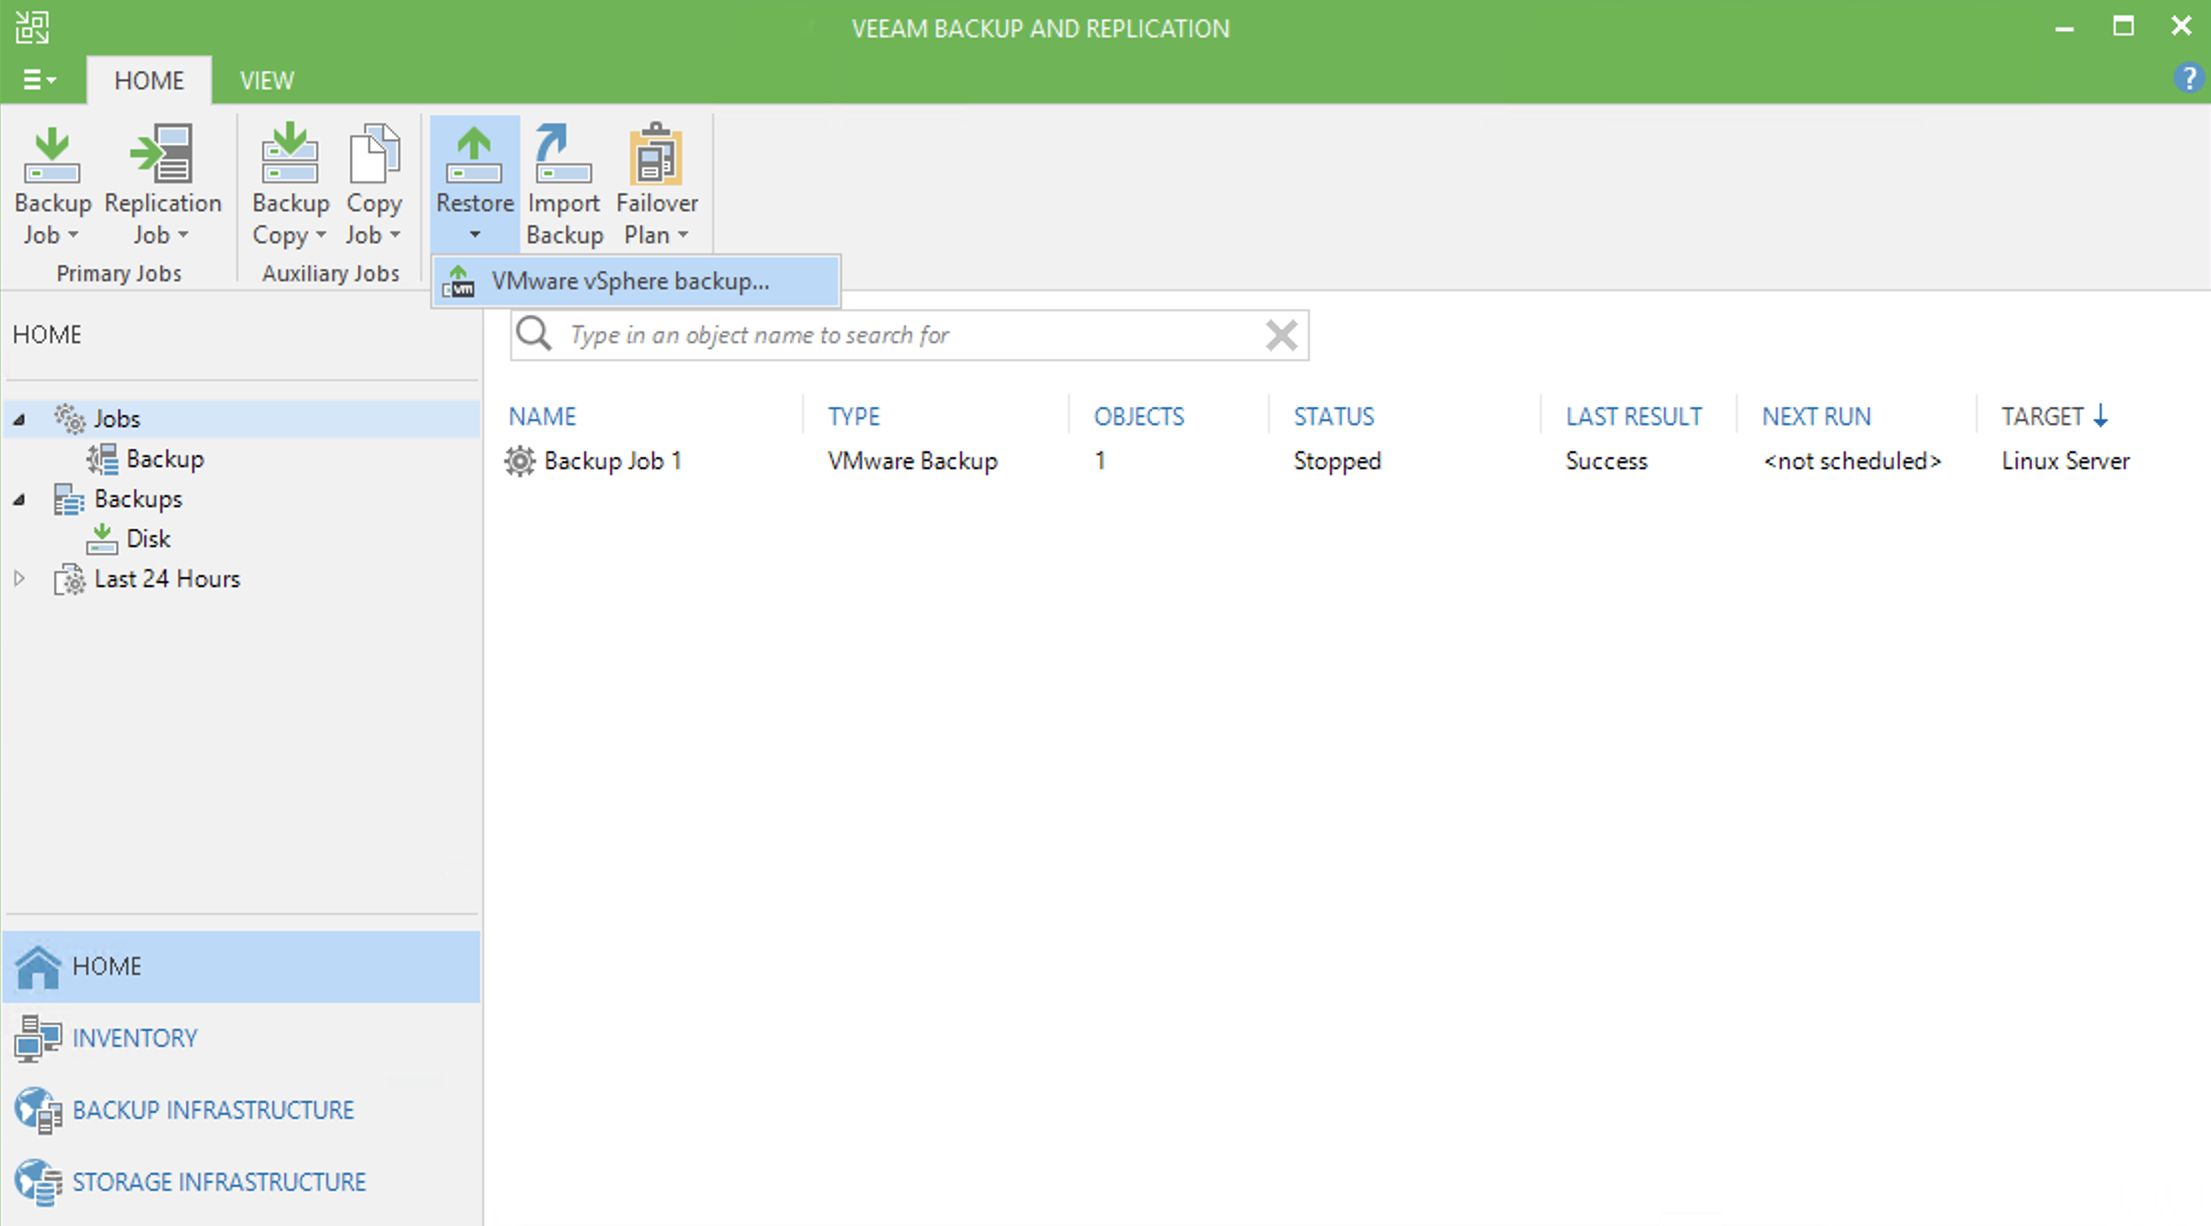
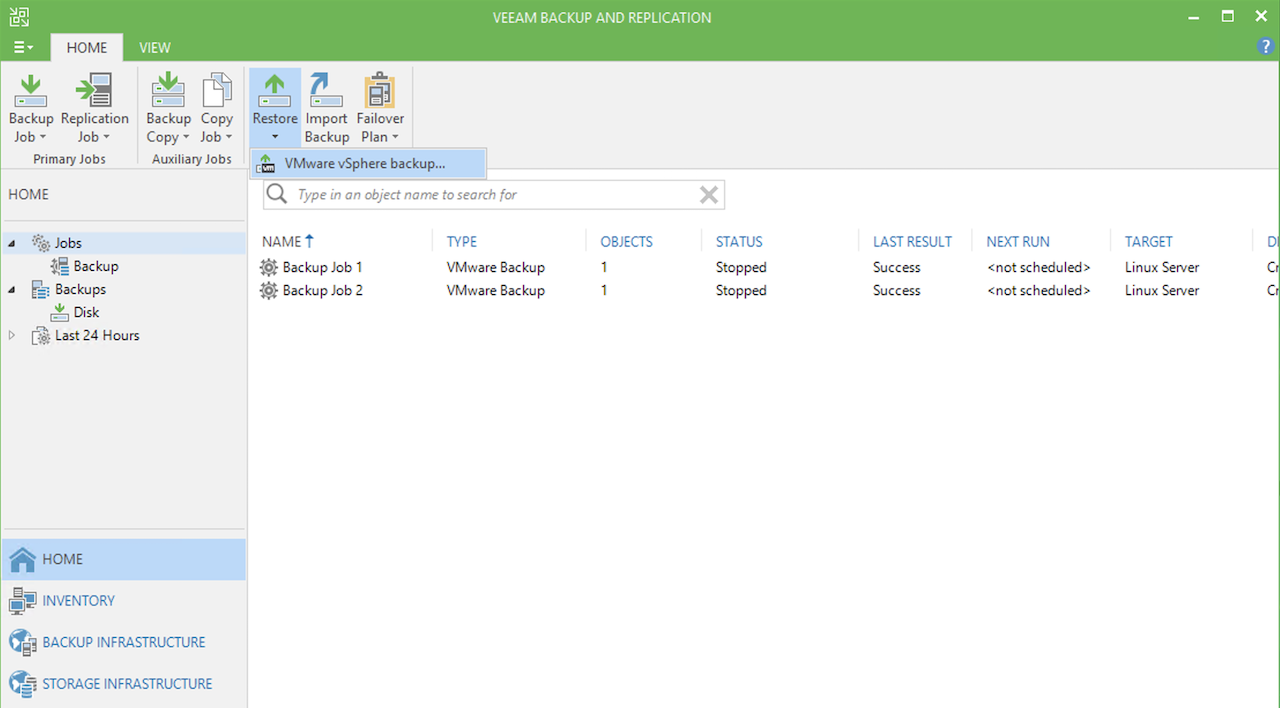
To start, from the Home tab, click the Restore button and then select the VMware vSphere backup… option.
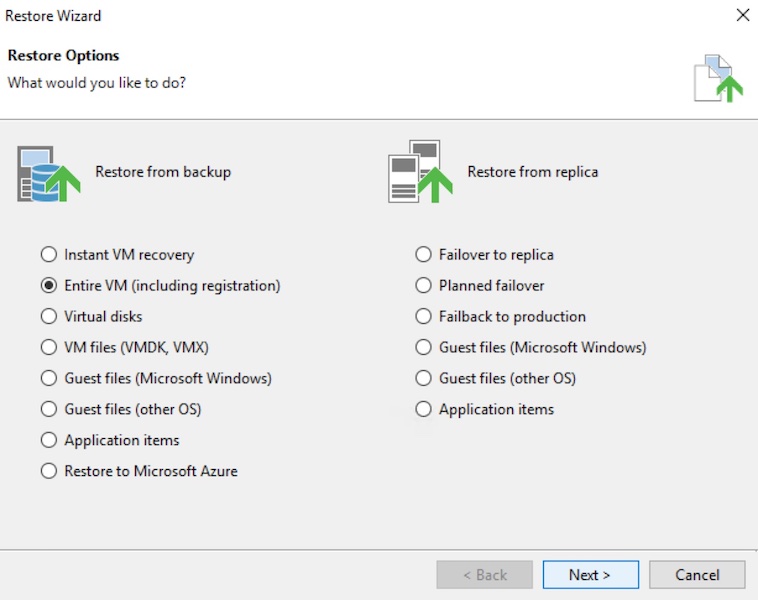
From the “Restore Wizard” pop-up window, select the Entire VM (including registration) option and then click the Next button.
In the first section, “Virtual Machines”, from the “Full VM Restore Wizard” pop-up window, click the Add VM button and then select the From backup… option.
In the “Backups Browser” pop-up window, select the appropriate restore point.
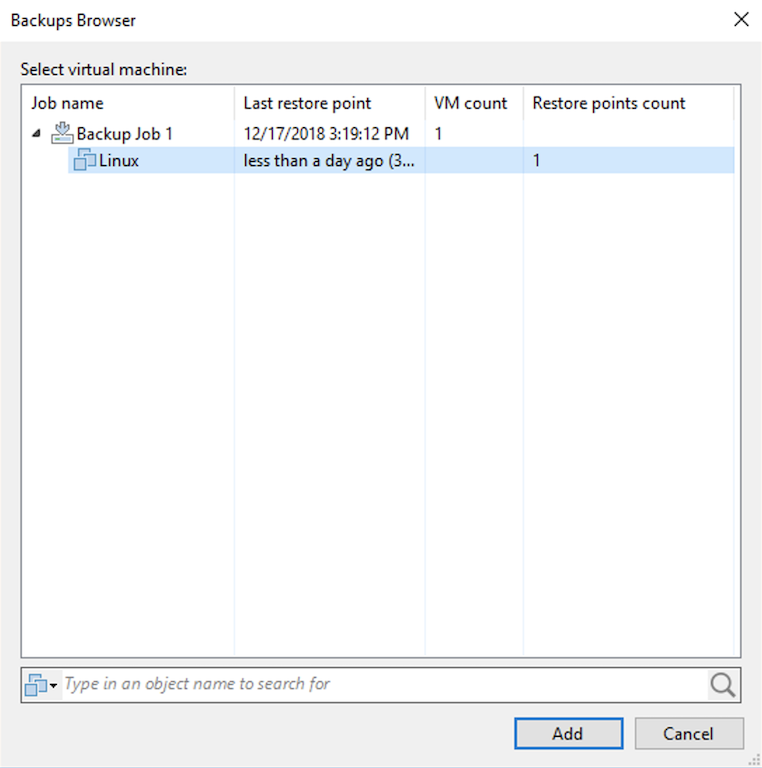
After making your selection, click the Add button to return to the “Restore Wizard” windows.
Then, click the Next button.
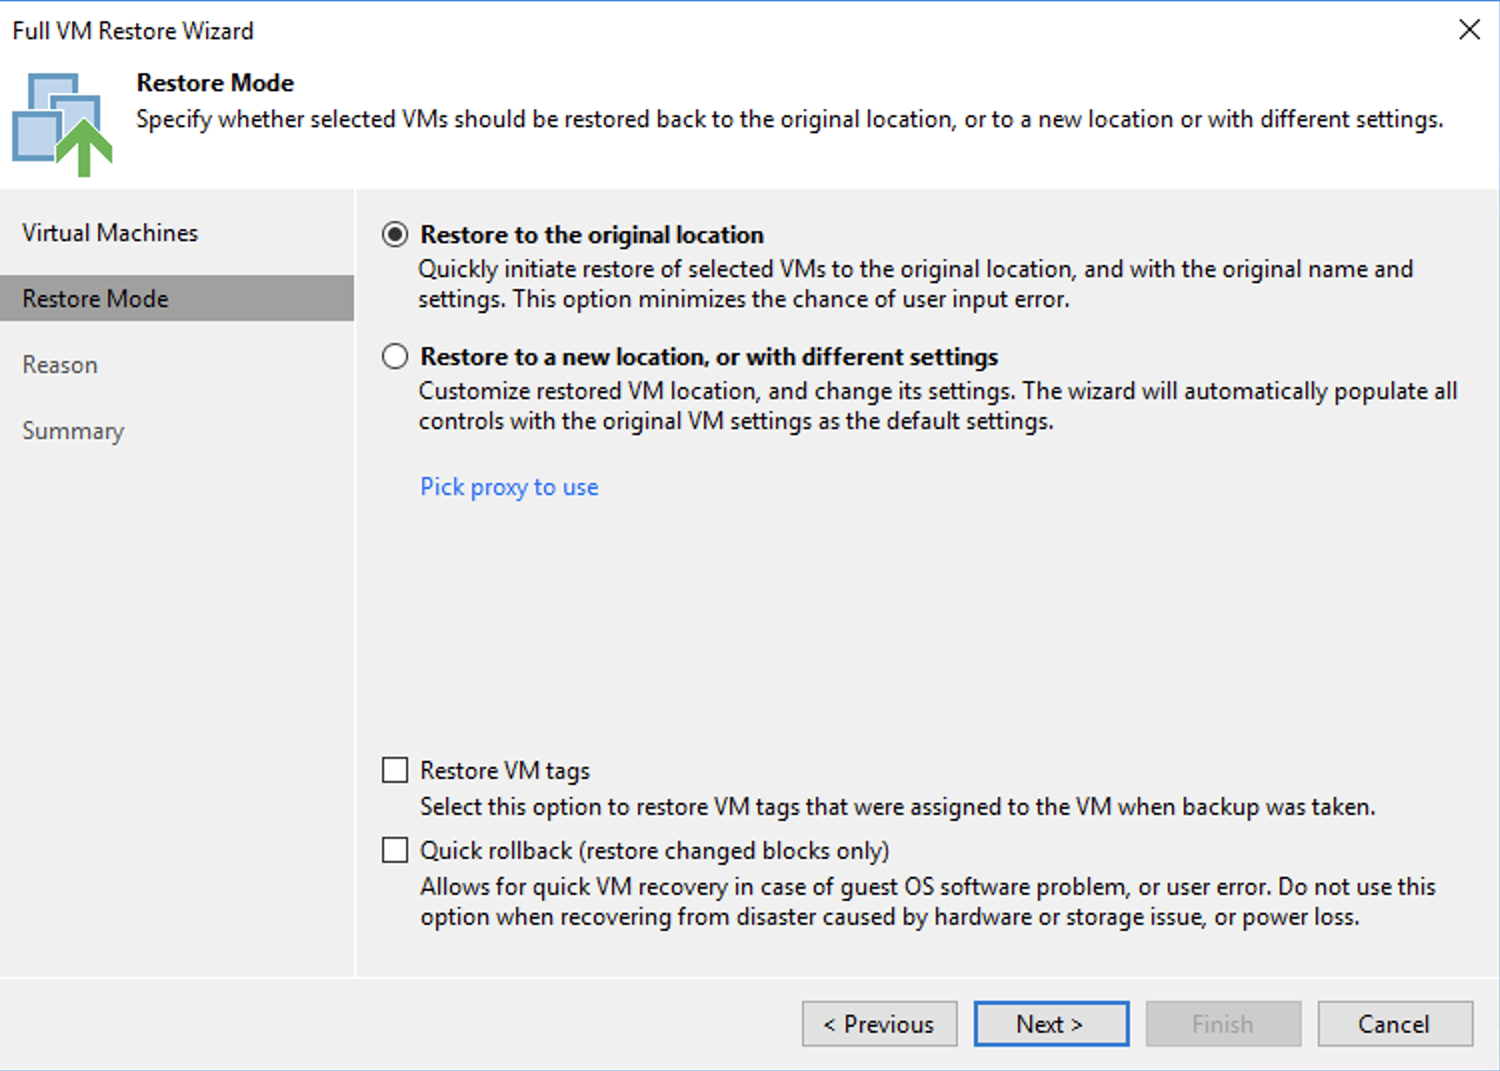
In the next section, “Restore Mode”, select the location to restore the VM to. For the purpose of this article, we will select the Restore to the original location option.
Note: If VM tags are not used in your vSphere environment, then the “Restore VM tags” option may be unchecked. If you would like to know more about VM tags, please consult the User Guide for VMware vSphere provided by Veeam.
Then, click the Next button.
In the next section, “Reason”, you may explain why you are performing a restore.
Then, click the Next button.
Note: If the VM is powered on, then you will receive the following notice:
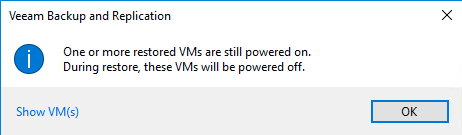
Click the OK button to continue.
Additionally, you will receive the following notice:
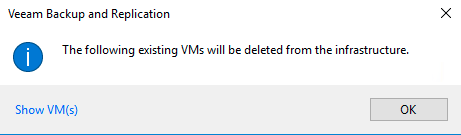
When a VM is restored to a destination where it already exists, Veeam deletes it and then performs the restore.
Click the OK button to continue.
In the final section, “Summary”, you may select the checkbox, Power on target VM after restoring, which will automatically power on the VM after the restore completes.
Lastly, click the Finish button to execute the restore.
You will see the progress of the restore job.
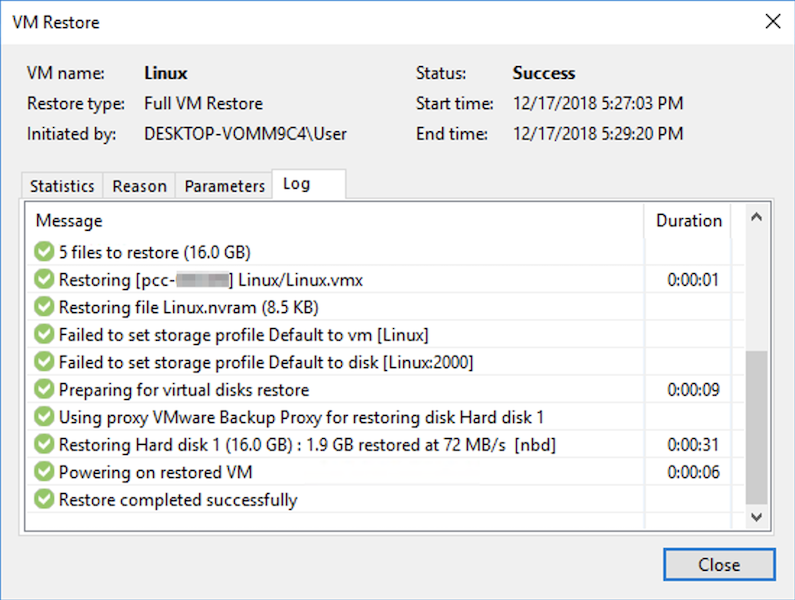
Congratulations! You have successfully restored a VM.
Restoring Guest File(s) – Microsoft Windows ONLY
Warning: In order to proceed with a guest file restore, the Microsoft Windows VM must be able to communicate with the Veeam Backup & Replication appliance via a network.
To start, from the Home tab, click the Restore button and then select the VMware vSphere backup… option.
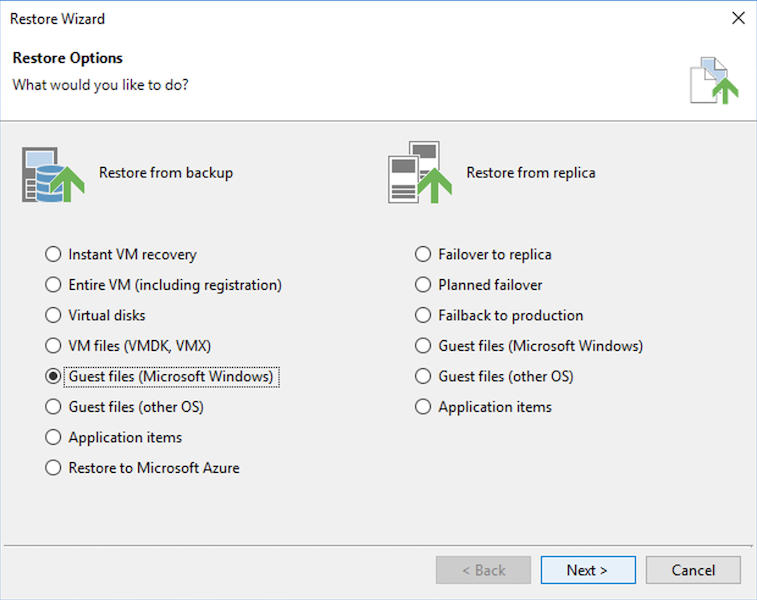
From the “Restore Wizard” pop-up window, select the Guest files (Microsoft Windows) option and then click the Next button.
From the “File Level Restore” pop-up window, select the VM that you wish to perform a restore to and then click the Next button.
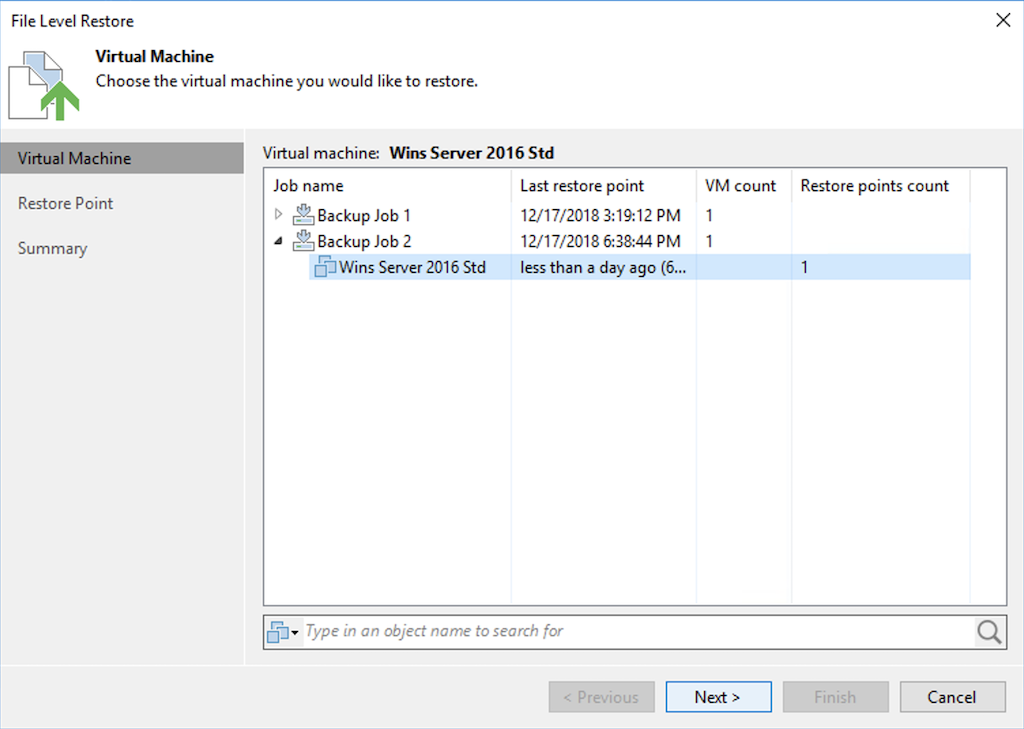
In the next section, “Restore Point”, select the backup that you wish to use to pull data from and then click the Next button.
In the final section, “Summary”, review the information and then click the Finish button.
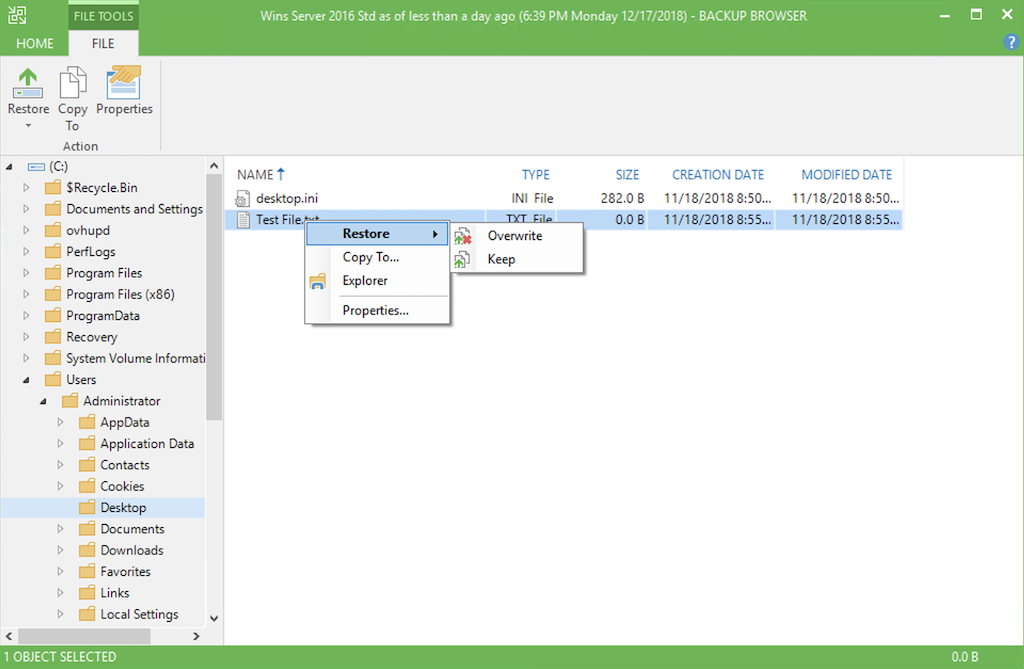
The “File Level Restore” window will close, but shortly thereafter the “BACKUP BROWSER” pop-up window will appear.
Navigate through the browser and choose the file or files that you wish to restore. Once you have selected a file(s), right-click on one of them, mouseover Restore and then select the Keep option.
The “Restore files to …” pop-up window displays the progress of the restore. Once the process is complete, the file has been restored, and you can close the “BACKUP BROWSER” window.
Conclusion
If you’re unable to restore data from a backup, it serves no purpose. Having read this article, you should have a clear understanding of how to restore an entire VM or an individual file using Veeam Backup & Replication.